 シンプルおりがみ|SIMPLE ORIGAMI
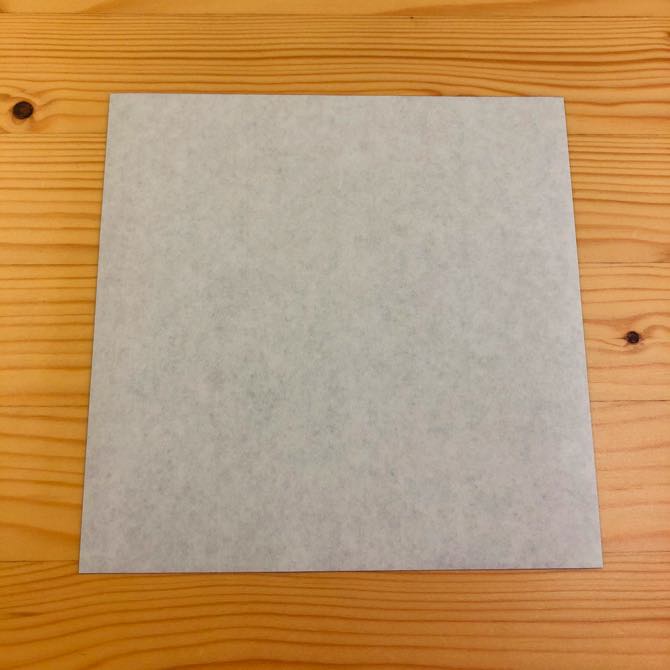
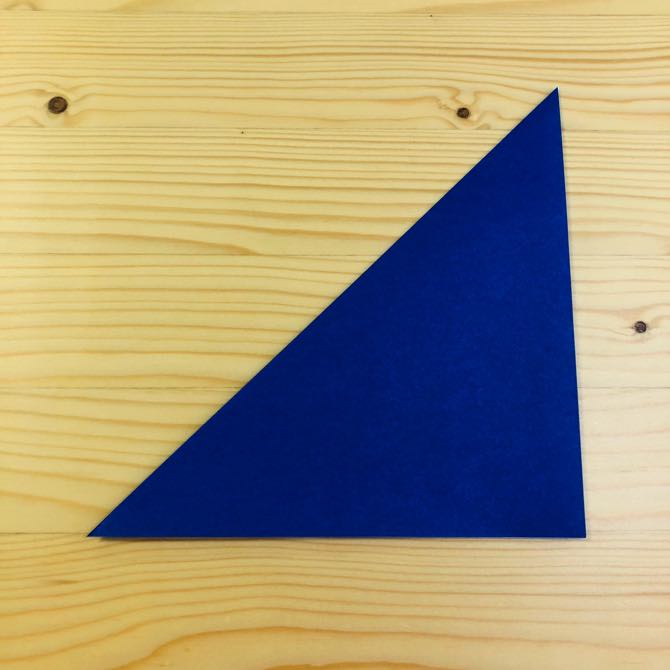
Step 1
半分に折って折り目をつけます。
はんぶんにおっておりめをつけます。
Fold it in half and put a crease
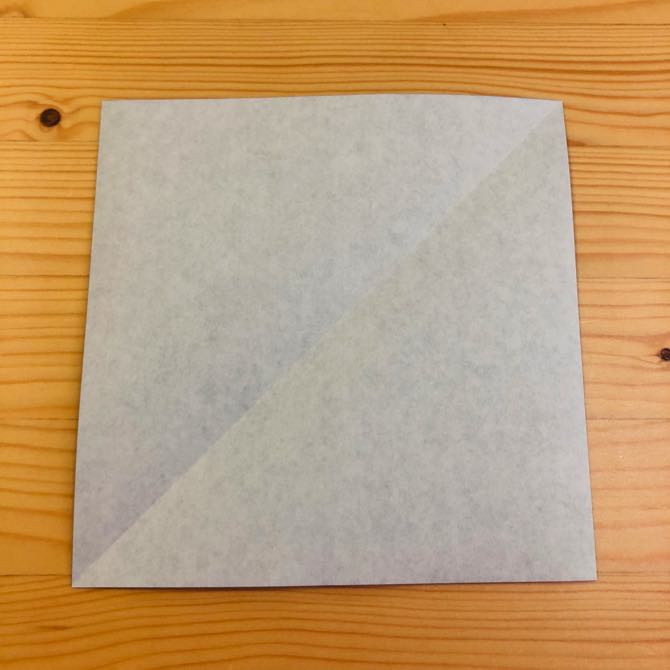
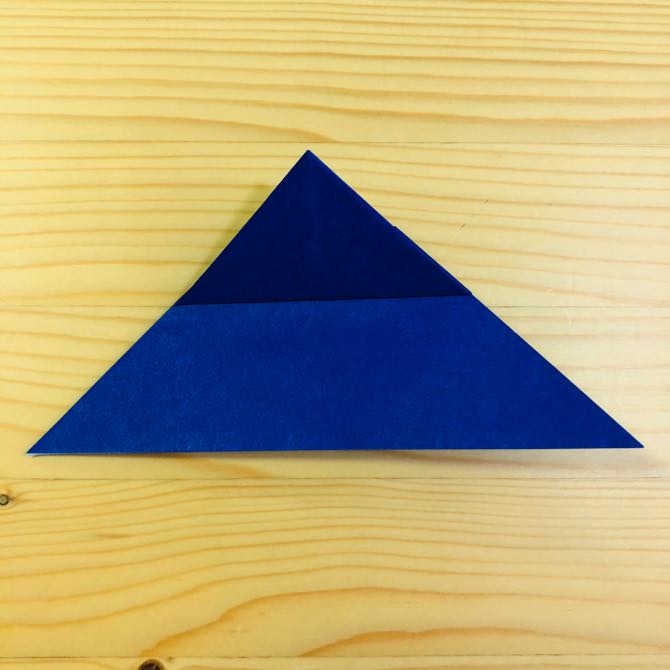
Step 2
半分に折って折り目をつけます。
はんぶんにおっておりめをつけます。
Fold it in half and put a crease
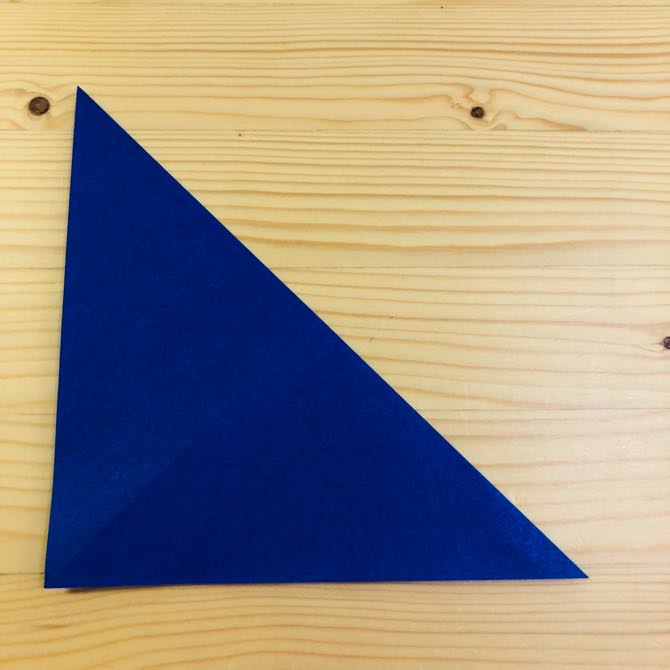
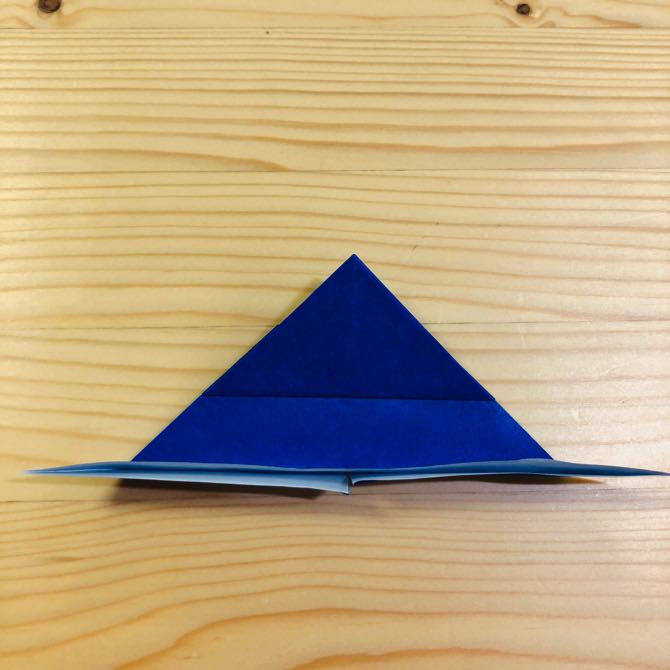
Step 3
写真の位置で折り目を付けます。
しゃしんのいちでおりめをつけます。
Fold crease at photo position
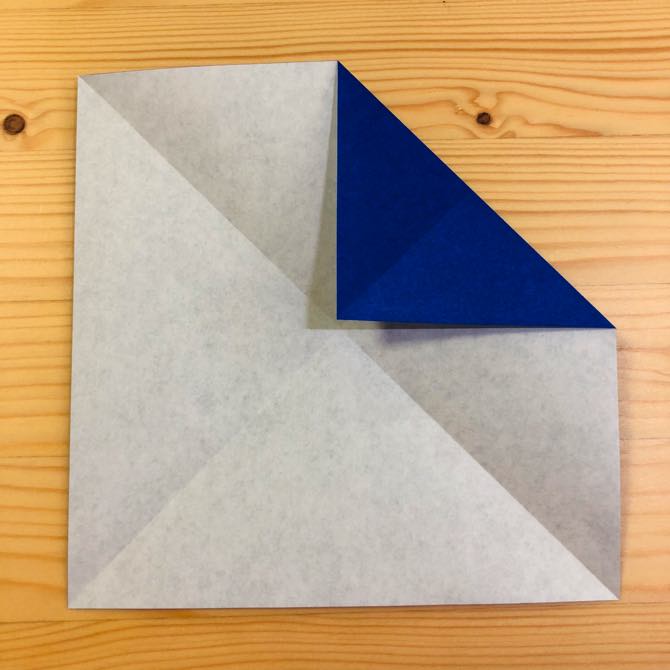
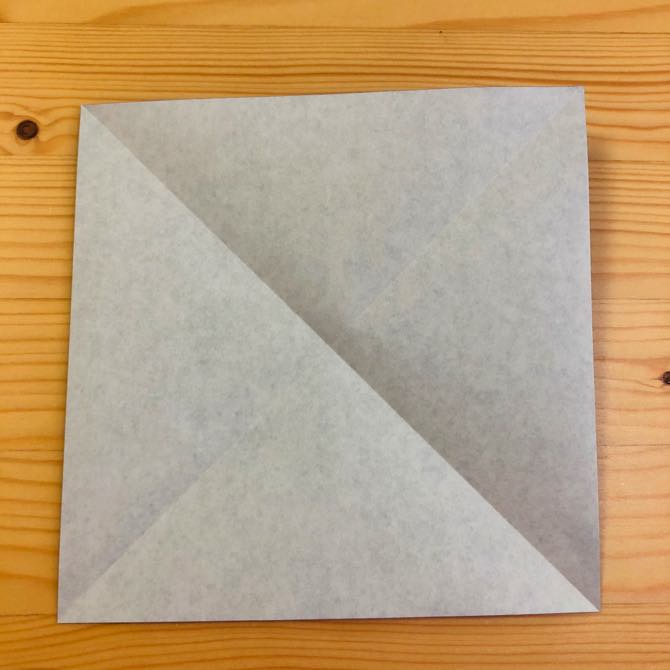
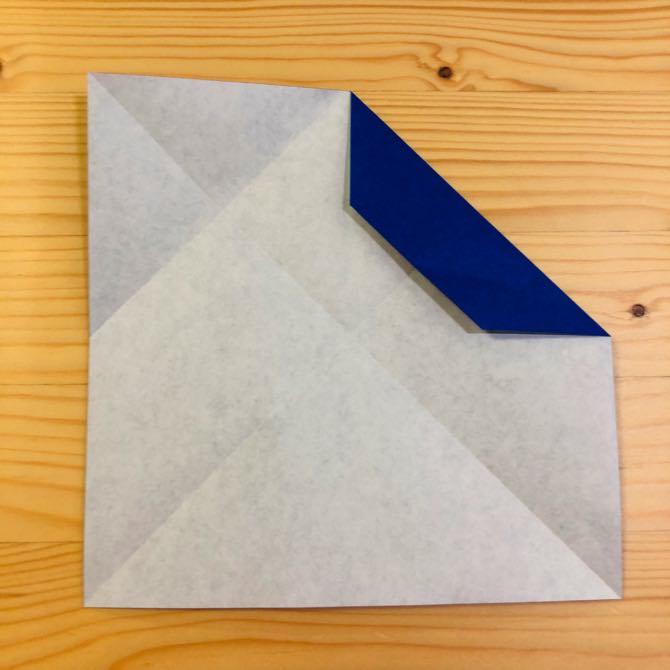
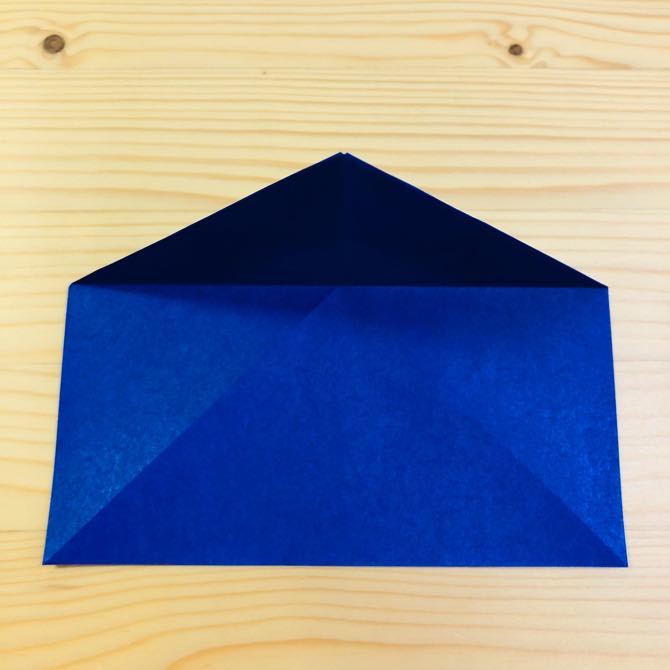
Step 4
写真の位置で折ります。
しゃしんのいちでおります。
Fold at the position of the photo
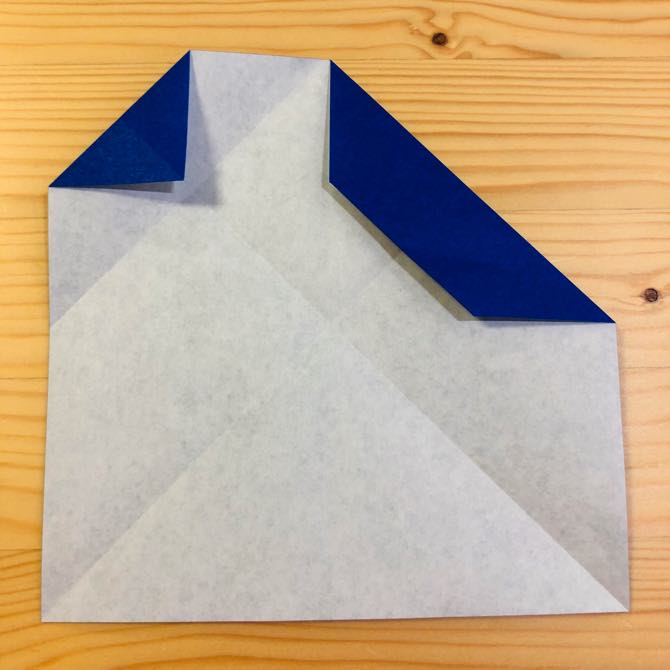
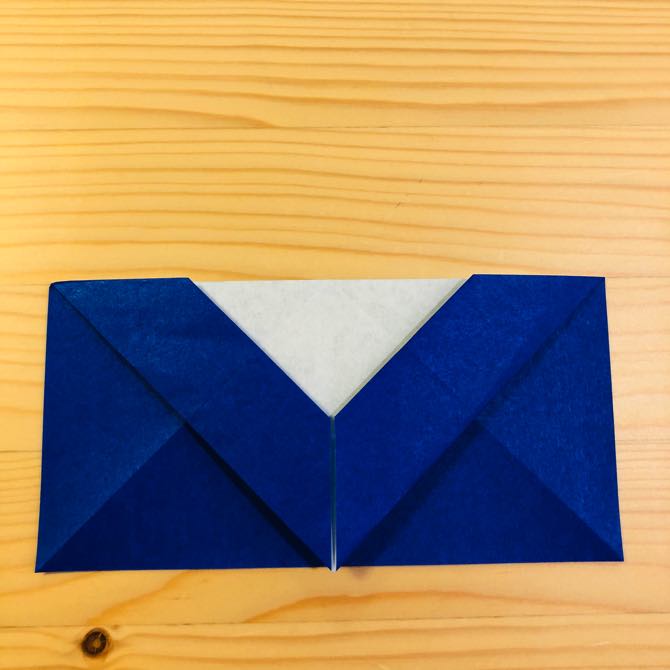
Step 5
反対側も同じに折ります。
はんたいがわもおなじにおります。
Fold the other side the same way
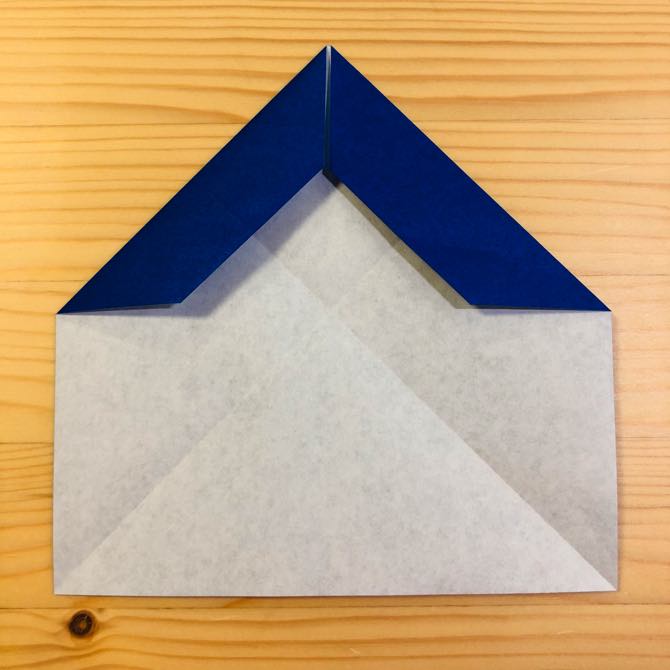
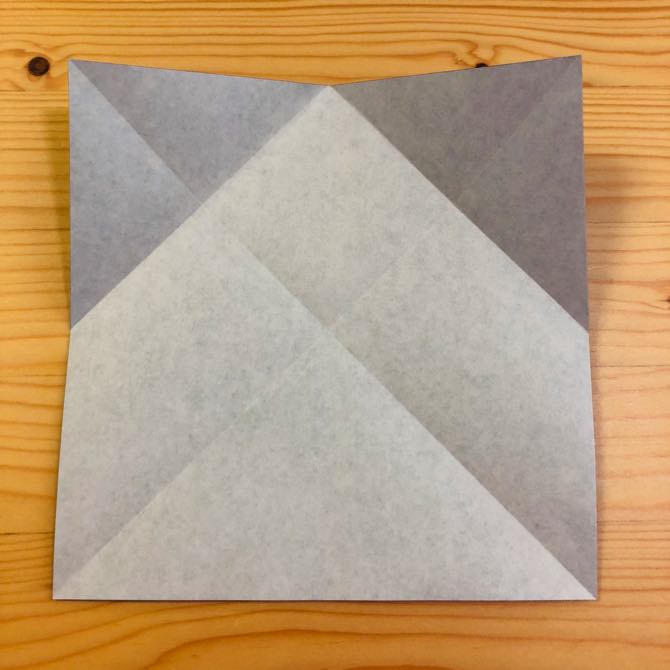
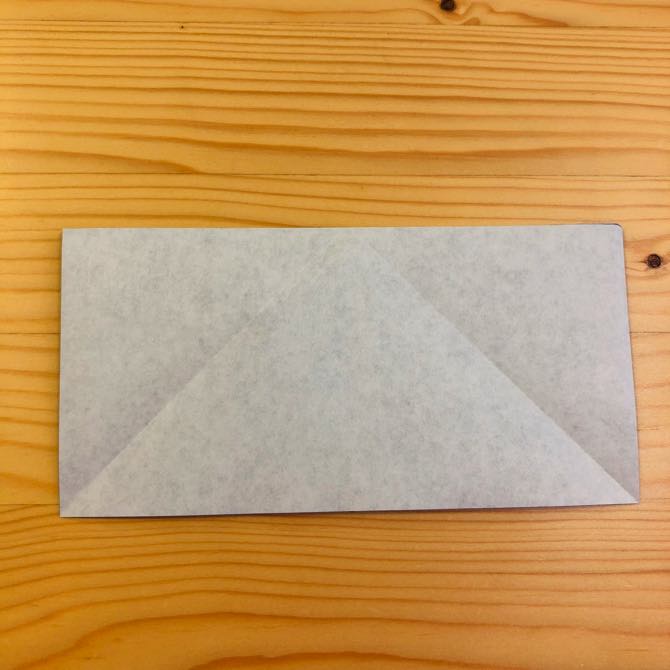
Step 6
裏返します。
うらがえします。
Turn over
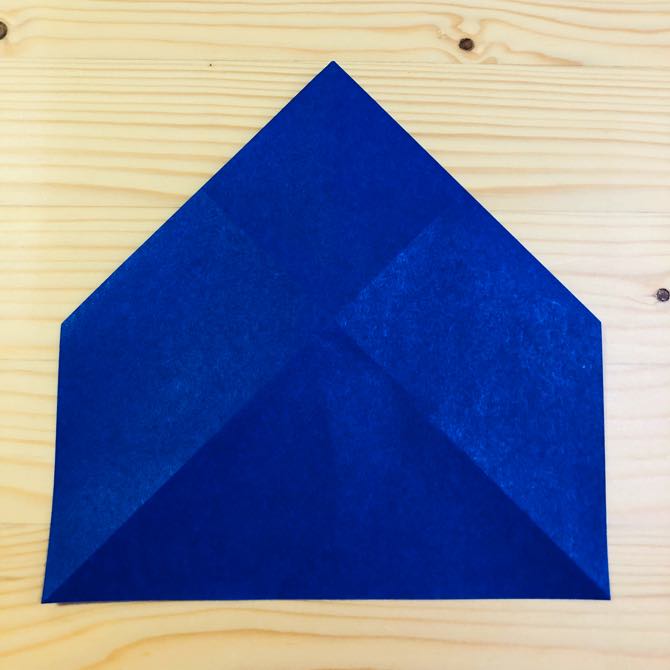
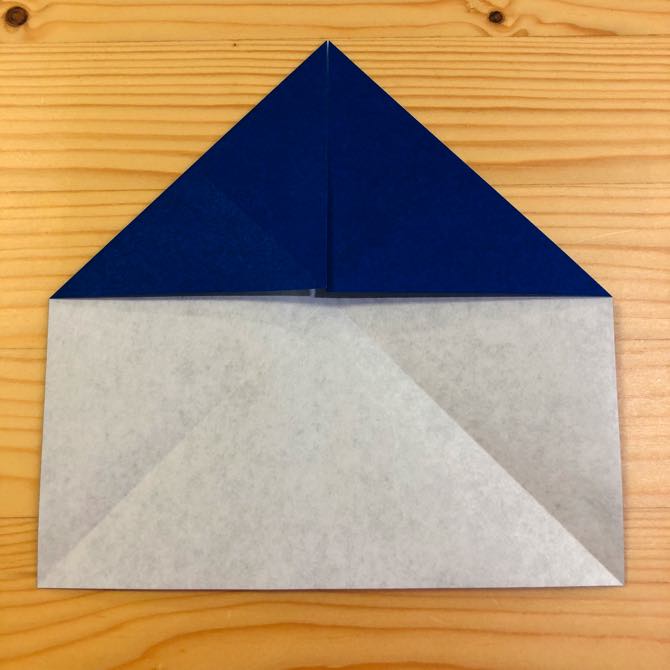
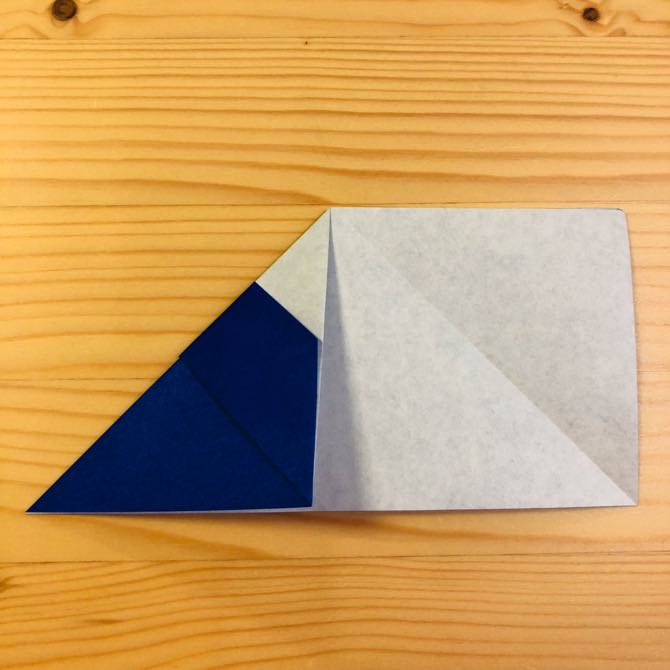
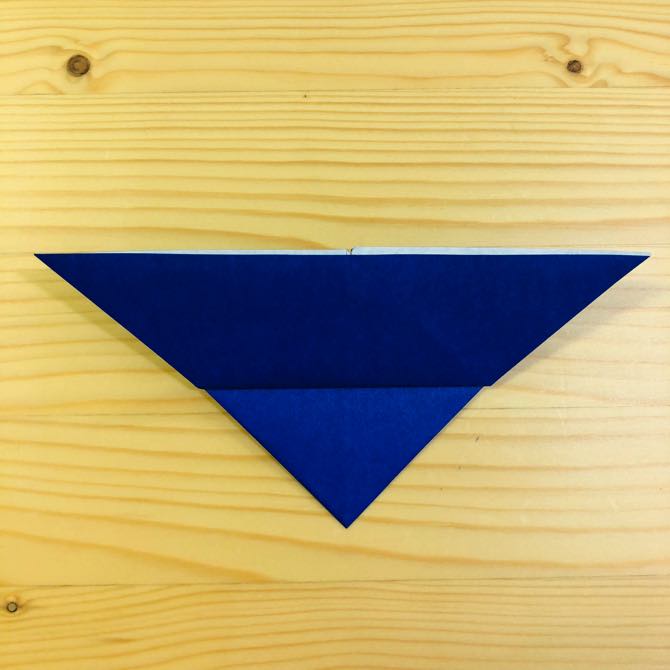
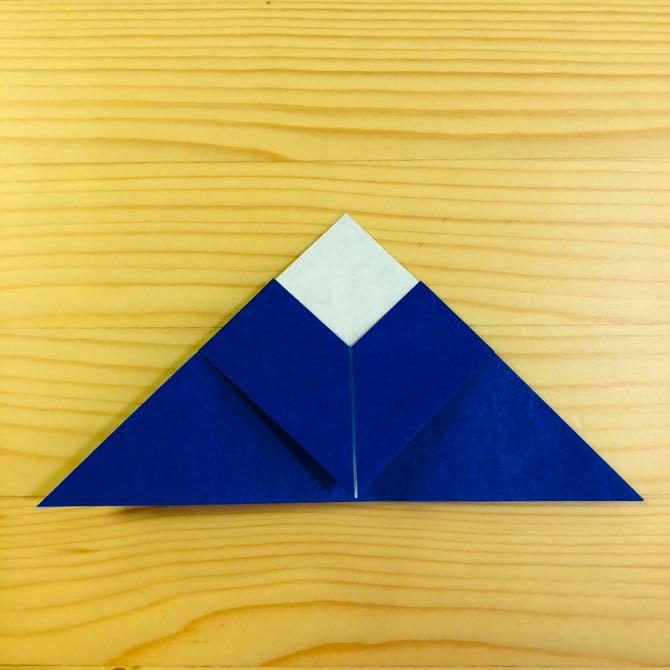
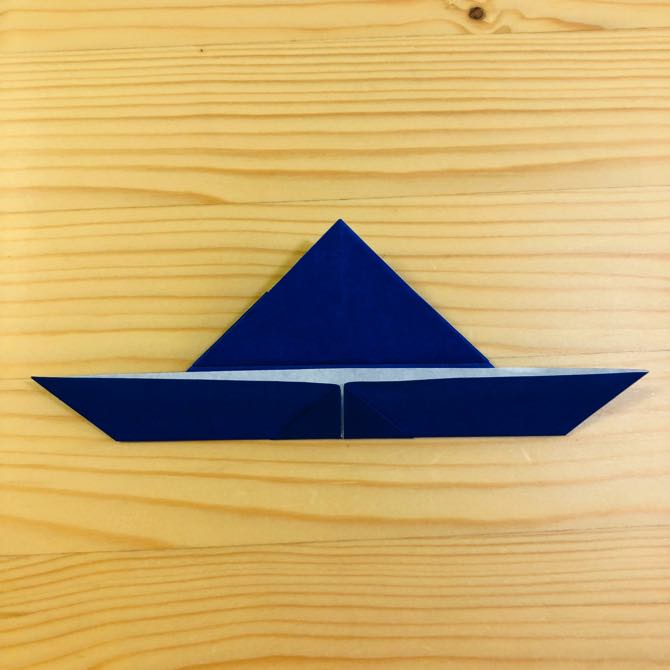
Step 7
写真の位置で折り下げます。
しゃしんのいちでおりさげます。
Fold down at the position of the photo
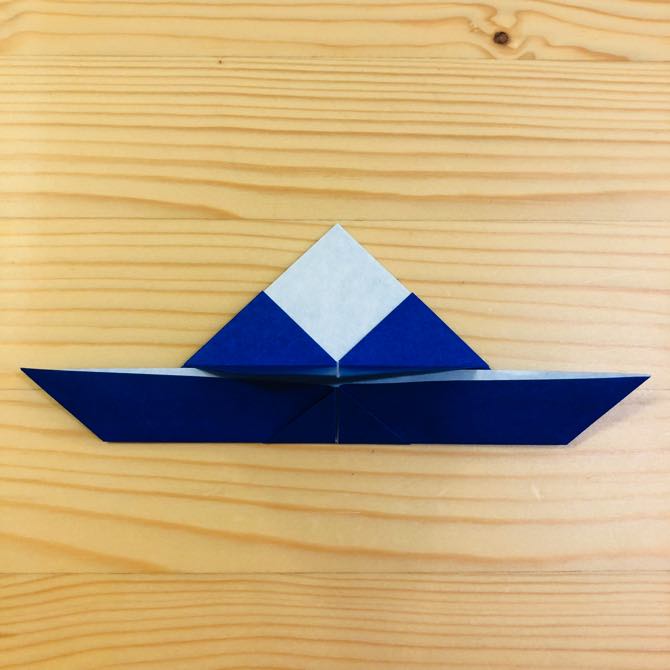
Step 8
裏返します。
うらがえします。
Turn over
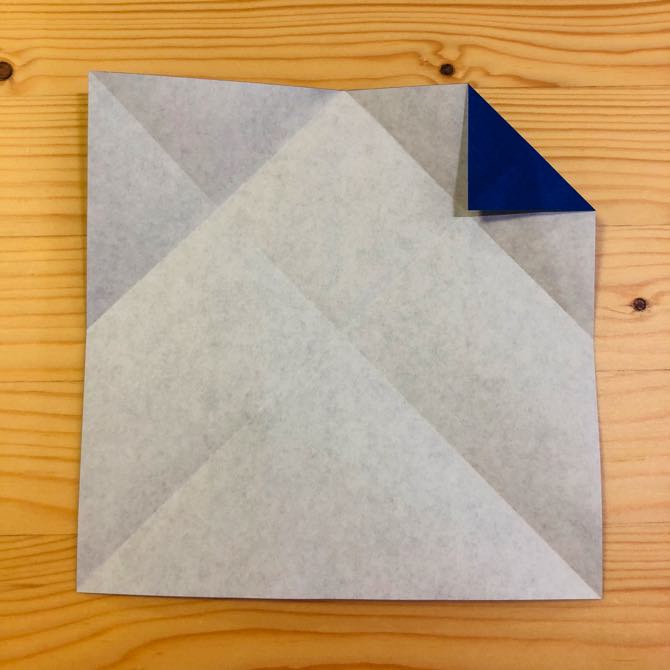
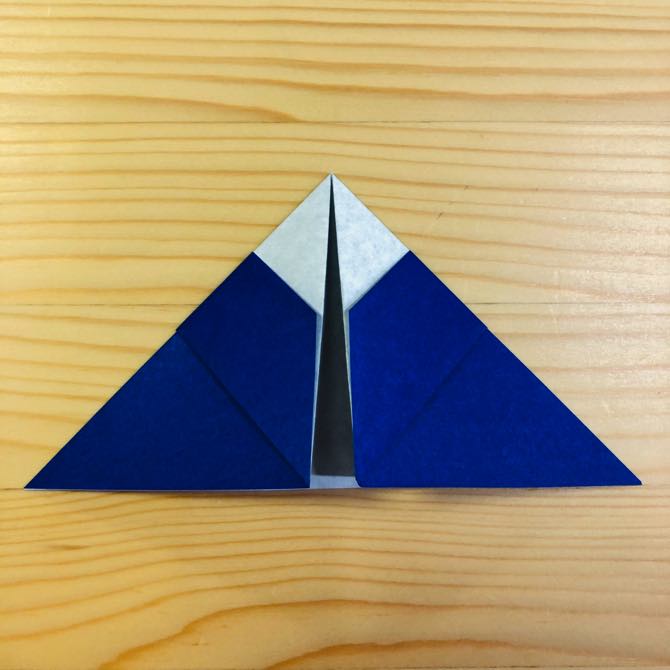
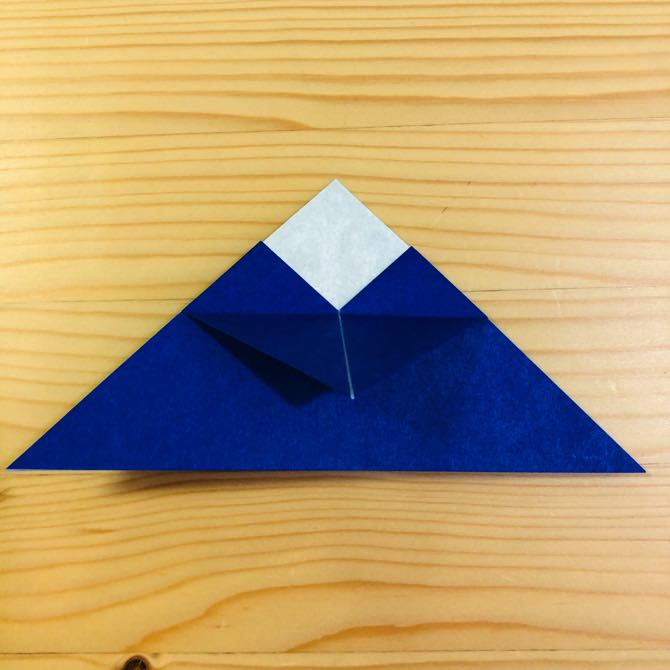
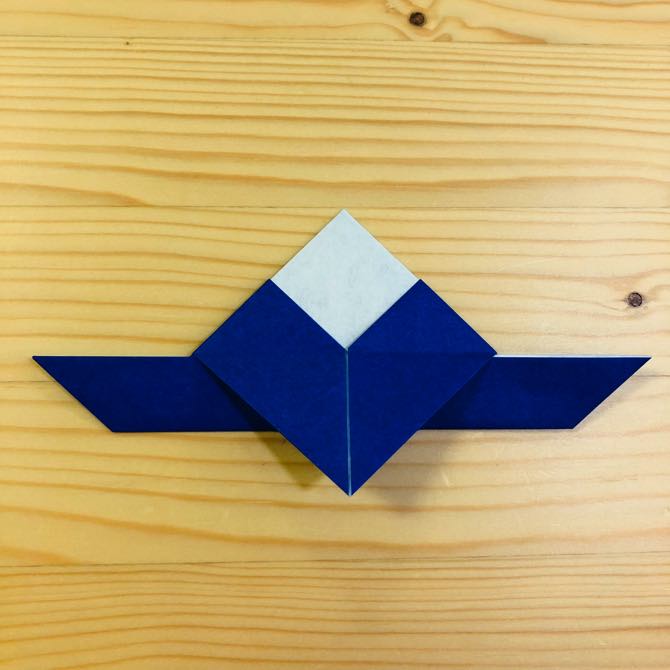
Step 9
写真の位置で折ります。
しゃしんのいちでおります。
Fold at the position of the photo
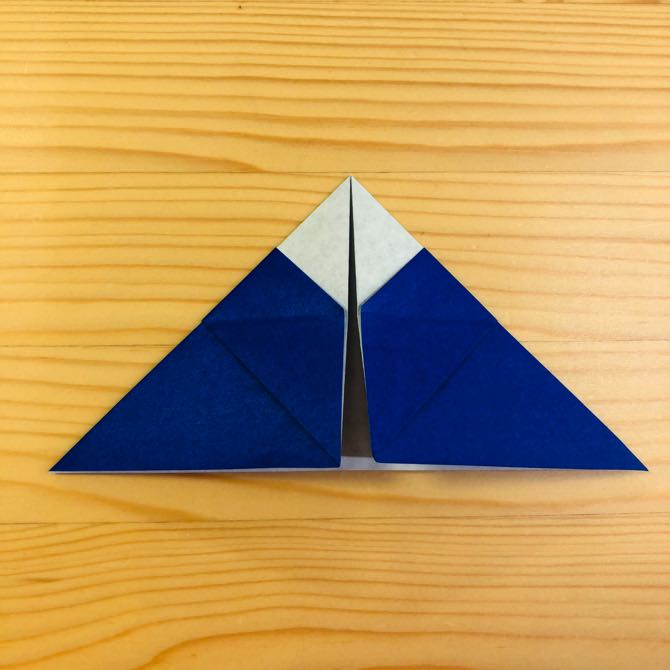
Step 10
写真の位置で折り目を付けます。
しゃしんのいちでおりめをつけます。
Fold crease at photo position
Step 11
裏返します。
うらがえします。
Turn over
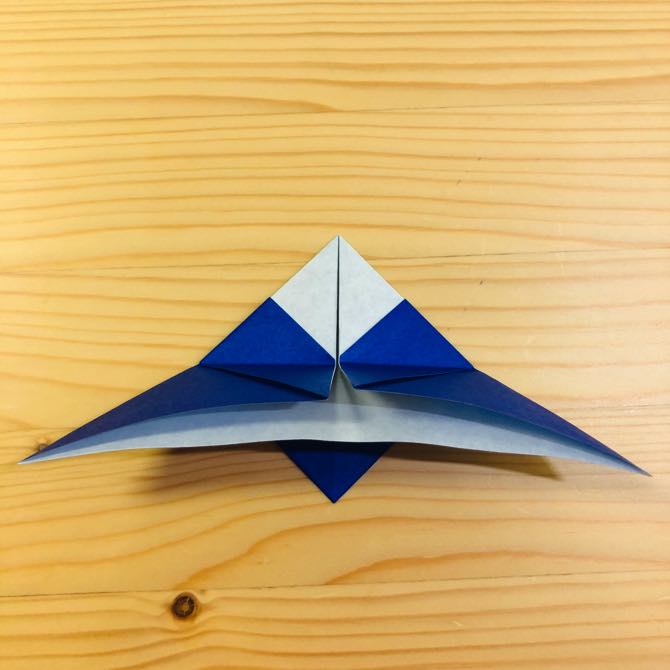
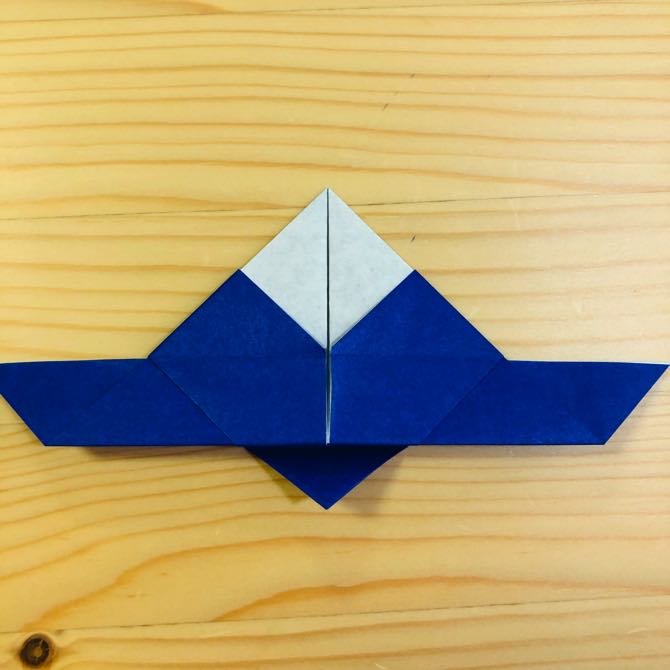
Step 12
写真の位置で折り上げます。
しゃしんのいちでおりあげます。
Fold up at the position of the photo
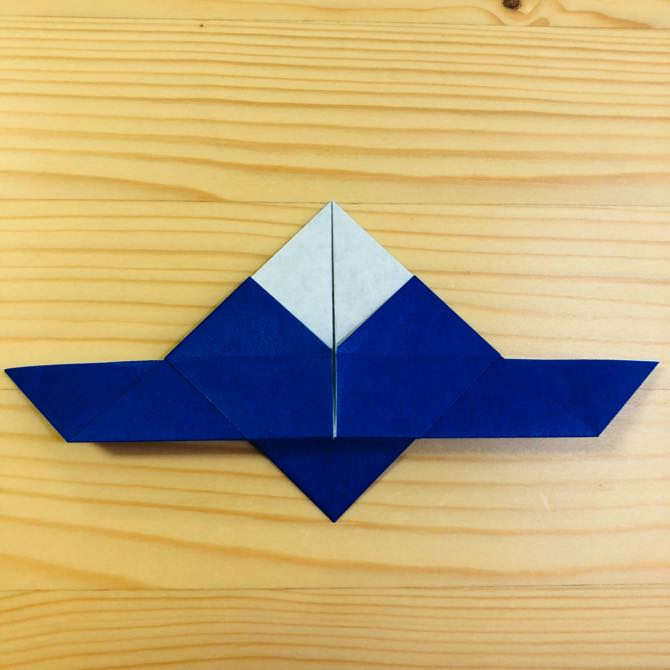
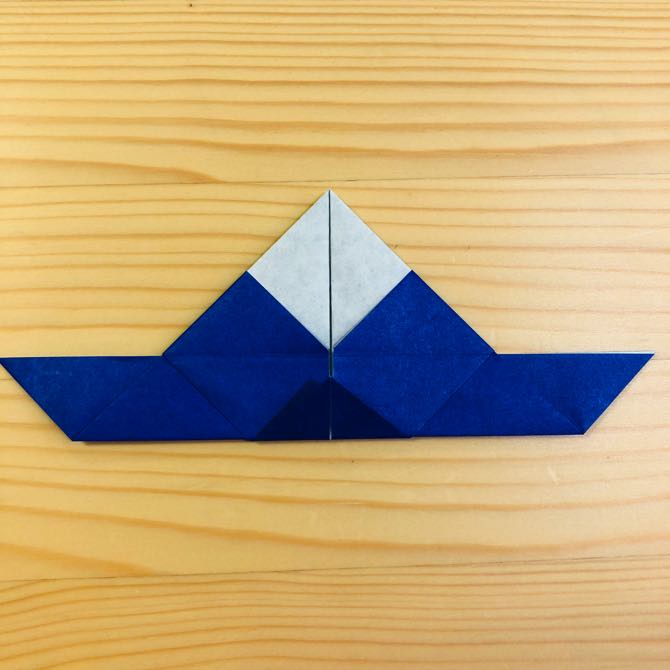
Step 13
写真の位置で折り上げます。
しゃしんのいちでおりあげます。
Fold up at the position of the photo
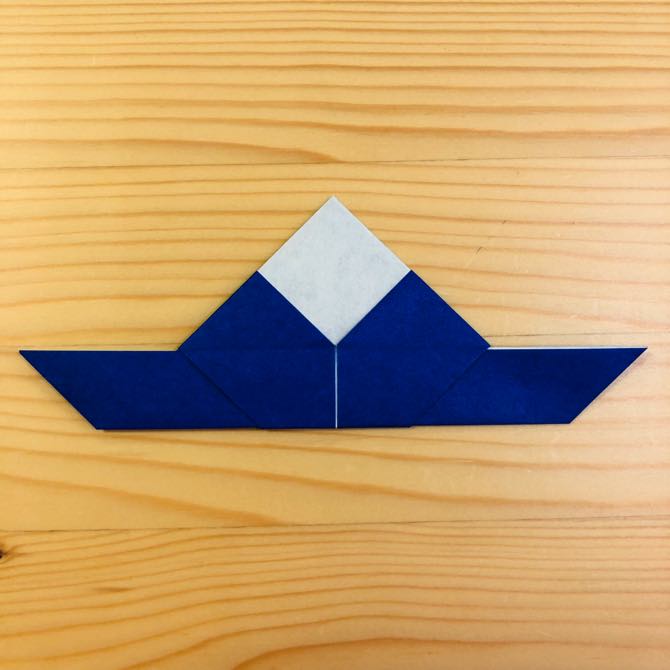
Step 14
写真の位置で折り下げます。
しゃしんのいちでおりさげます。
Fold down at the position of the photo
Step 15
裏返します。
うらがえします。
Turn over
Step 16
写真の位置で折り上げます。
しゃしんのいちでおりあげます。
Fold up at the position of the photo
Step 17
裏返します。
うらがえします。
Turn over
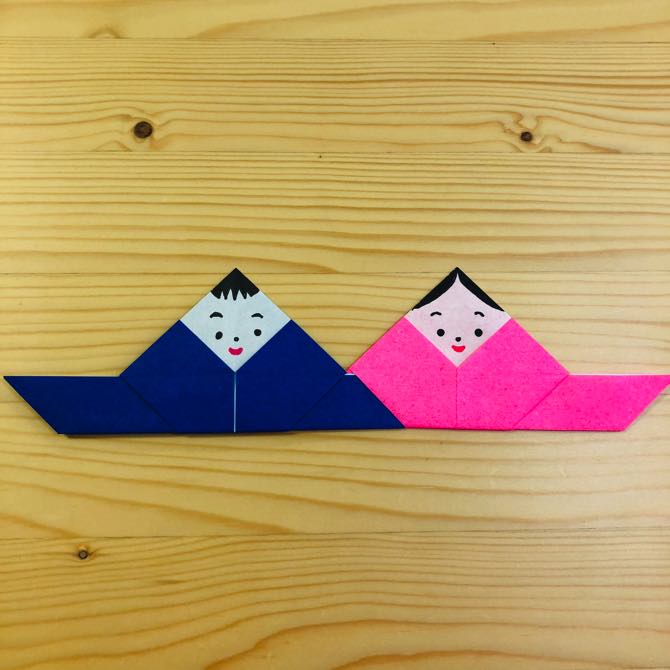
Completion !!
顔を書いたらお雛様の完成です。
かおをかいたらおひなさまのかんせいです。
After drawing face, it is completion of the Ohinasama.